
David and I built our own top bar hive on Sunday. We based our hive on the plans that Philip Chandler has posted on his site biobees.com.
With a little sawing, and drilling we have a very nice bee hive in about four hours!
I had a lesson in proper skill saw usage.


Seen from a different angle.

I shouldn't have taken that comb away from the bees in the first place so this is my way of trying to make it up to them. I hope that using their own comb will make the hive smell like a proper home.
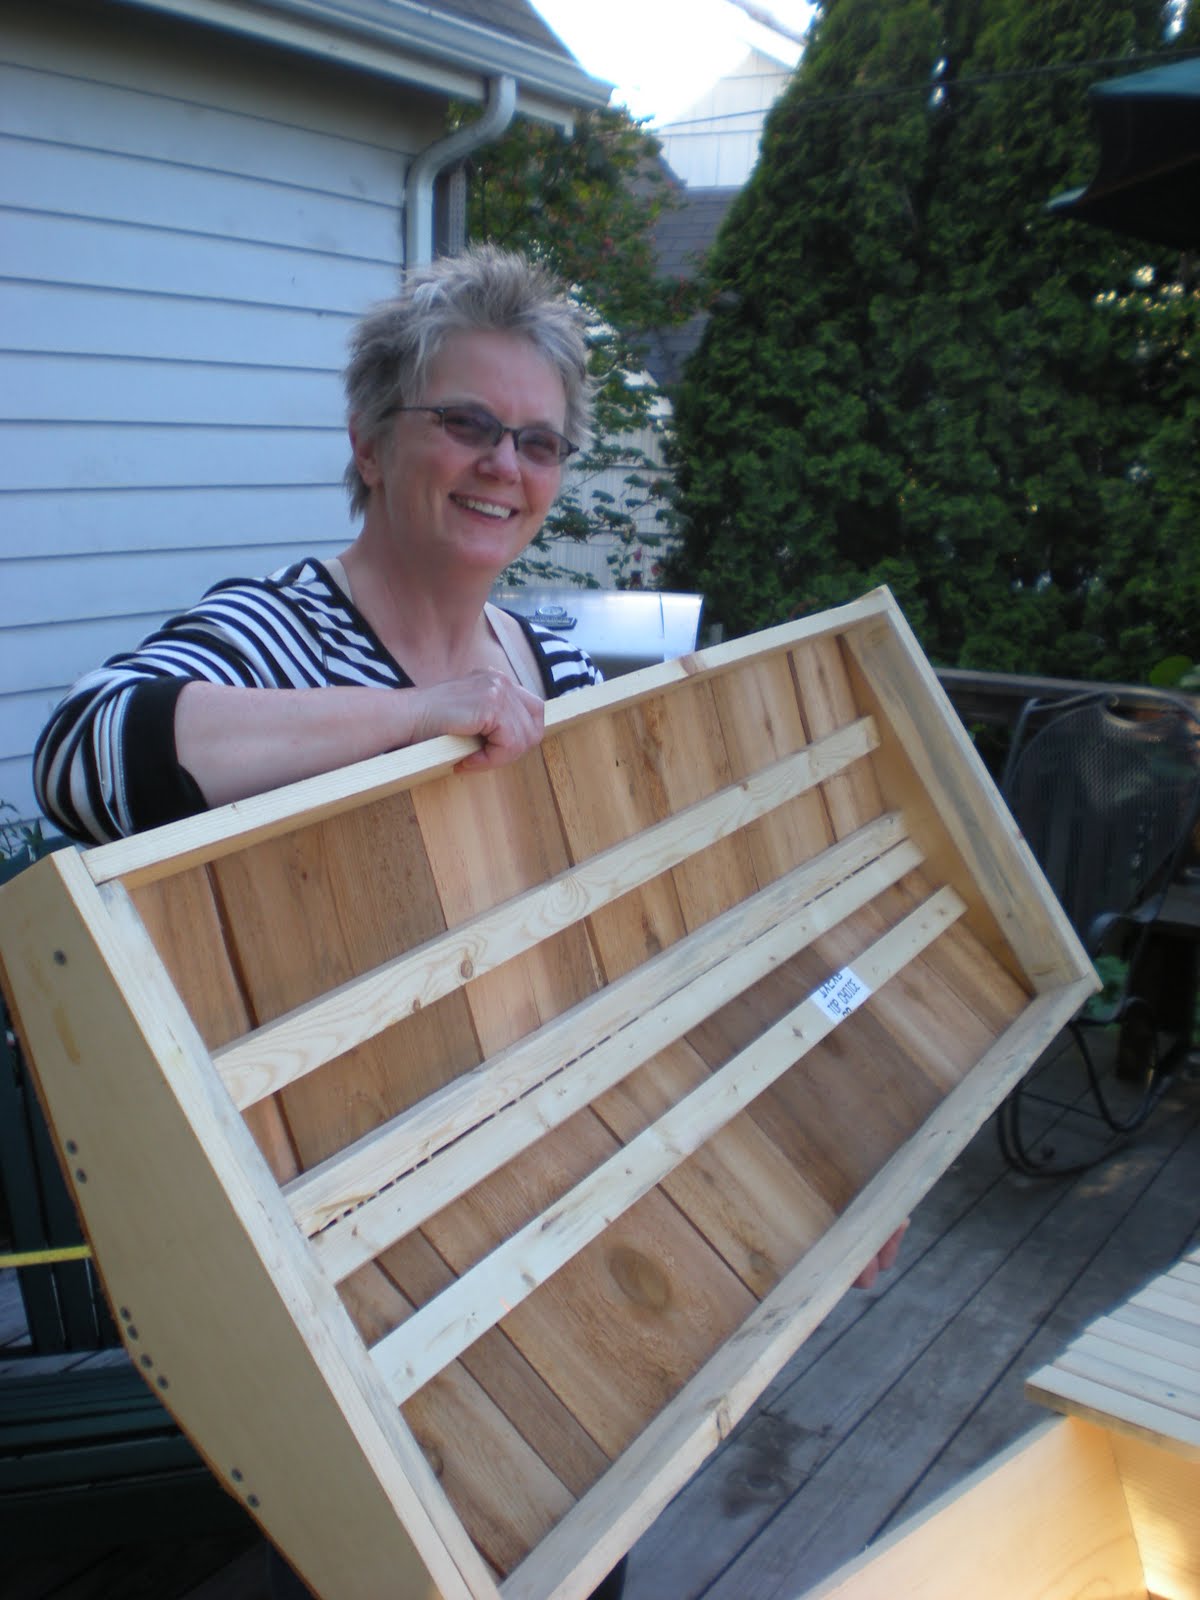
We used stock 1x2s for the bars. They might be a bit too wide. We shall see.

David with the finished hive!
You can see the three holes I drilled for the main entrance. They can be stopped up with wine corks as needed. On the other side are two more openings, one on each end. It is possible to have more than one colony in the same hive and they need separate entrances.

The hive placed in the garden. The entrance faces north but the hive still receives quite a bit of sun throughout the day.
Installing the bees was another beginner's disaster - more on that later.
No comments:
Post a Comment